


What painting tools do you need? The complete checklist, from a 1-inch brush to rollers
However good the paint, the wrong roller leaves your wall striped like a zebra. This checklist helps you buy everything in one trip, and the kit will see you through many more rooms.
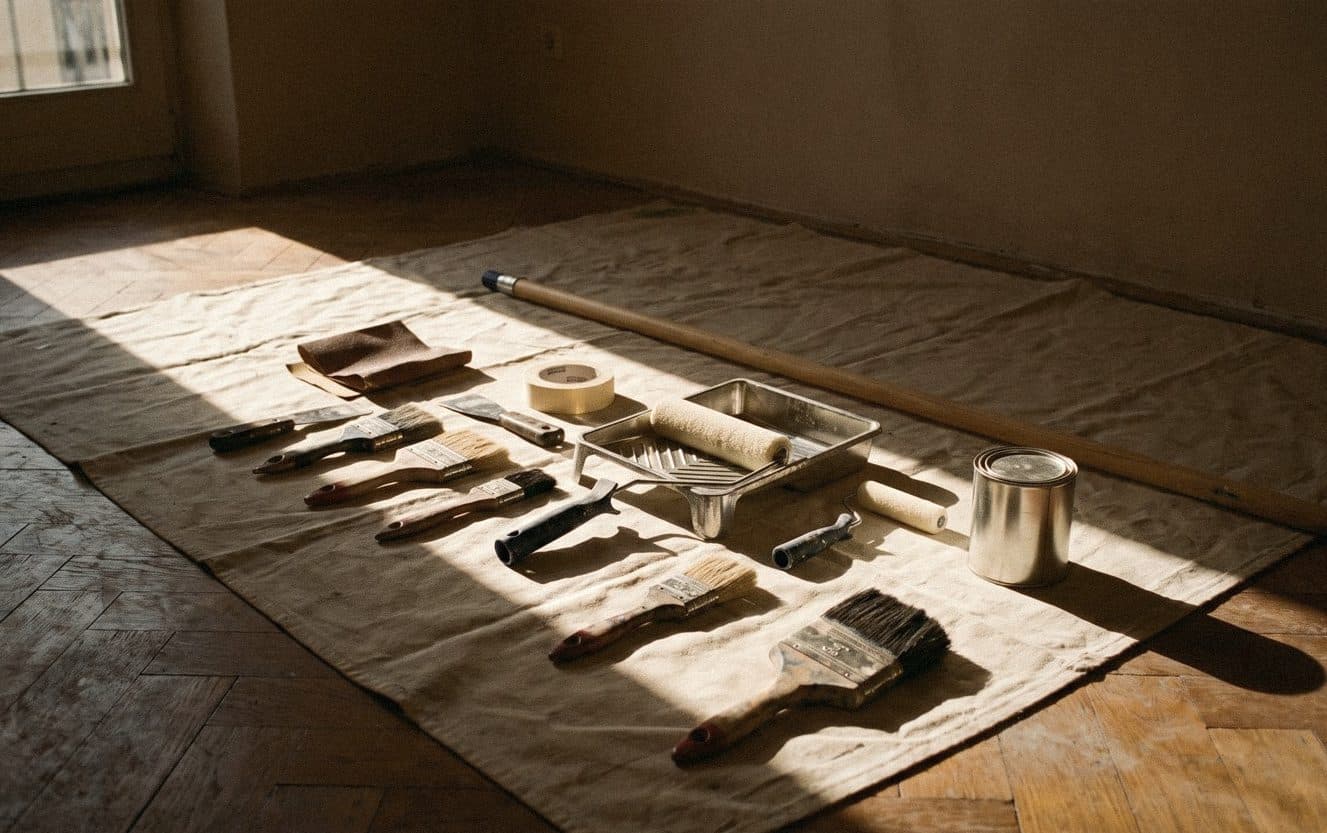


The basic tools for painting a house fall into 3 groups. Preparation: a scraper, sandpaper and filler. Protection: tape and a cloth or plastic sheet to cover the floor. Application: brushes in several sizes, rollers, a roller tray and an extension pole. For water-based acrylic paint, choose synthetic-bristle brushes and wash them in clean water straight after use.
What tools do you need to paint a house? The whole checklist on one page
Painting is like cooking. However fresh the ingredients, a blunt knife and a sticky pan make it harder work than it should be. Painting tools don't need to be expensive, but they need to suit the job, and you need all of them before you open the tin. Nobody wants to peel off their gloves and run to the hardware shop just as the first coat is about to dry.
Split your kit into three piles: preparation, protection and application. Check each pile before you start.
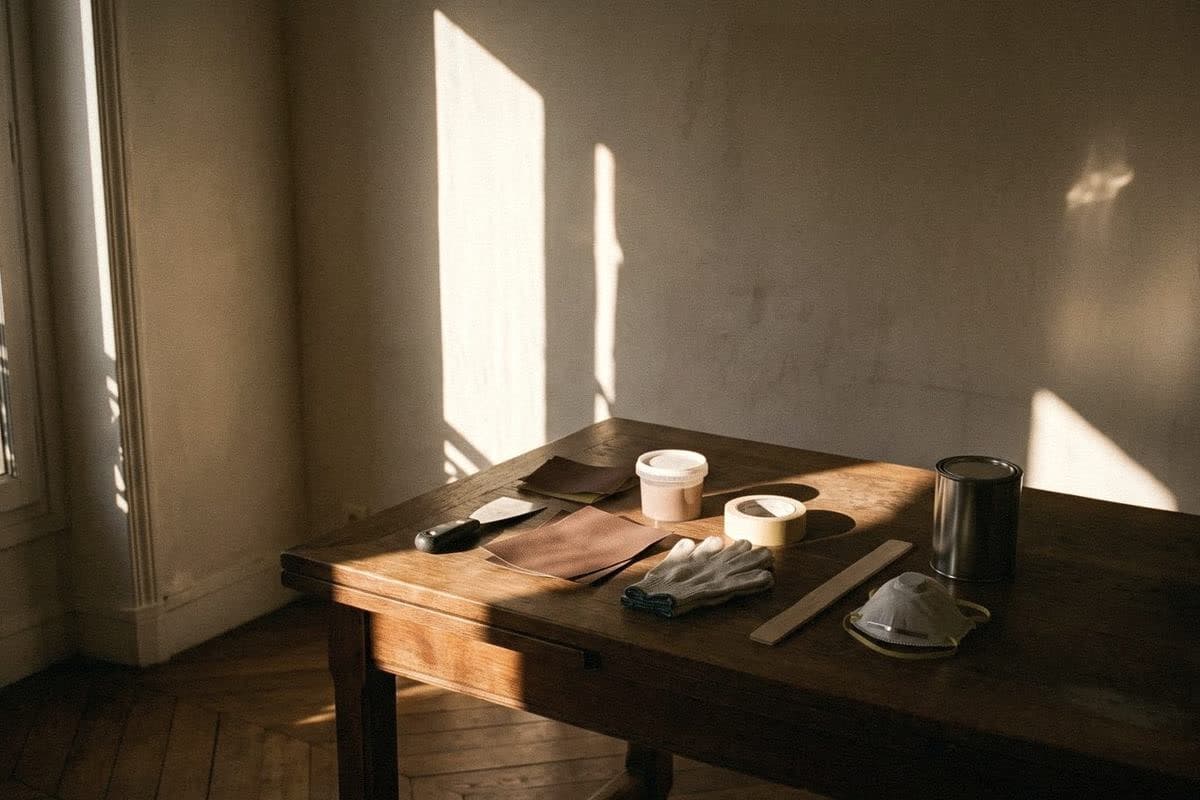
- Preparation: a paint scraper, sandpaper (a coarse grit for scraping off flaking paint, a fine grit for smoothing the surface), filler or acrylic filler, a damp cloth
- Protection: masking tape, a cloth or plastic sheet to cover the floor and furniture, gloves, a mask, safety glasses
- Application: 1-inch, 2-inch and 3–4-inch brushes, a small 2–4-inch roller, a large 9-inch roller, a roller tray, an extension pole
- General: a stirring stick, a bucket of water, rags, a sturdy ladder, a flat-head screwdriver to prise open the lid
- Clean-up: plastic bags to wrap brushes during breaks, old newspaper to wipe off excess paint
Paintbrushes: how to choose the size, 1 inch, 2 inches or 4 inches
Brushes are for the places a roller can't reach: room corners, the edge of the ceiling, skirting boards, door and window frames, and around power sockets. Painters call this cutting in. Do it before you roll the wall, then roll over it so the edges blend together.
For water-based acrylic paint, use a synthetic-bristle brush, such as nylon or polyester. The bristles don't soak up water and splay the way natural bristles do; natural bristles suit oil-based paint better. A good brush is one that doesn't shed bristles on the wall. Give the bristles a gentle tug in the shop. If they come out in a clump, put it back.
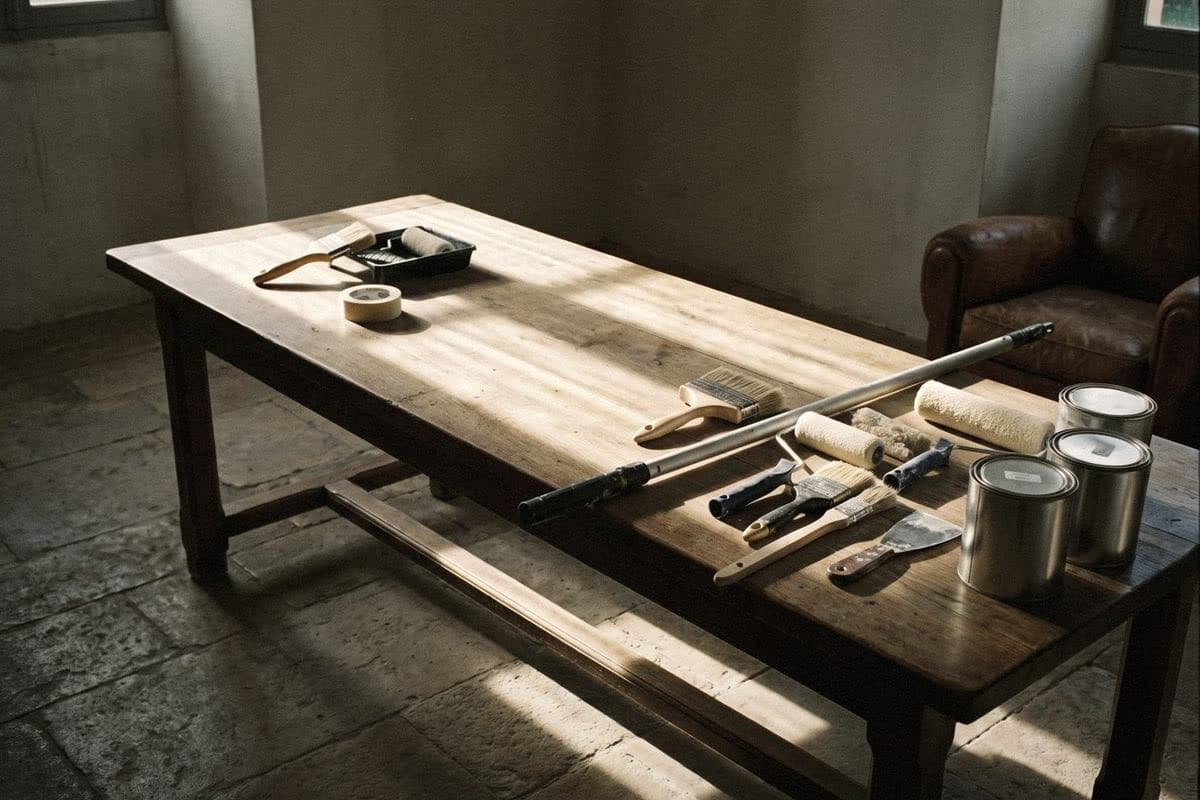
- 1-inch brush: detailed work, door and window frames, railings, tight corners, touch-ups
- 2-inch brush: skirting boards, doors, window frames, cutting a line between two colours
- 3–4-inch brush: cutting in where the wall meets the ceiling, room corners, narrow walls
- Angled brush: holds a straight line more steadily, good for beginners

Paint rollers: choose the size and nap length to suit the wall
The roller does the heaviest work in any paint job. Choose the roller size by the area you're covering, and the nap length by the wall surface. A short nap leaves a smooth wall looking smooth; a long nap gets into the grooves of a rough wall better.
A 2-inch or 4-inch roller is a mini roller, for narrow spaces: behind pipes, beside cupboards, on doors and small walls. For ordinary room walls, use a 9-inch roller with a roller tray that has a ridged section for rolling off excess paint. Voqe's roller-and-tray sets, for example, are ฿89 for the 4-inch and ฿189 for the 9-inch.
The extension pole is the thing people skip and then regret. It lets you paint high walls without climbing up and down a ladder, and it helps you keep the pressure even, so the wall doesn't end up striped.
- Mini roller, 2–4 inches: narrow spaces, doors, behind pipes, beside furniture
- 9-inch roller: ordinary room walls and ceilings
- Short nap: smooth walls, smooth ceilings, doors
- Medium nap: ordinary plastered walls, fine for almost any room
- Long nap: exterior walls, rough surfaces, bare concrete walls
- Roller tray: has a ridged section for rolling off paint and sits steady; lining it with a plastic bag makes it easier to clean
A budget kit and a professional kit: what's the difference?
If you're painting one room and that's it, the basic kit is enough. But if you're painting the whole house, or repainting every few years, investing in a few pieces pays off: you paint faster, the finish is smoother, and the tools last for many jobs.
The things worth buying good from the start are one cutting-in brush, a roller that doesn't shed, and a tape that peels off without pulling the old paint away with it. These three decide how your wall looks more than the price of the paint does.
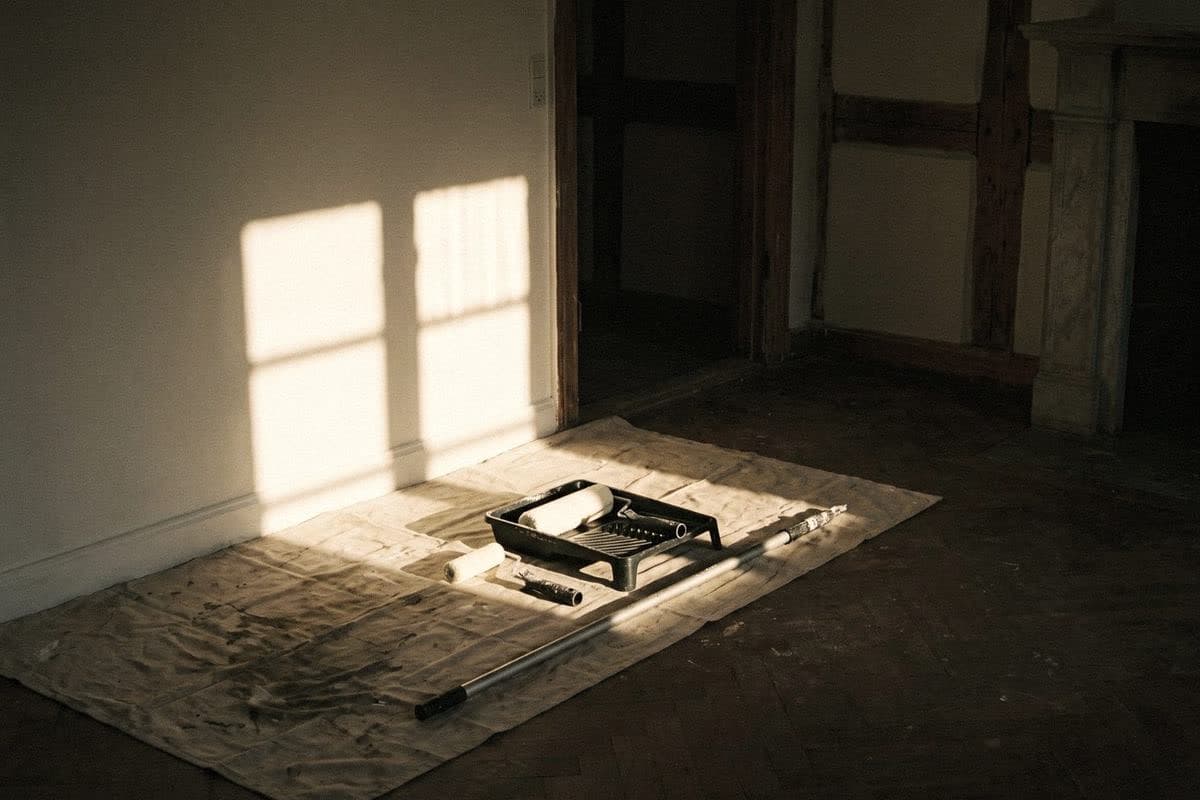
- Budget kit: one 2-inch brush, a 9-inch roller with tray, masking tape, a plastic floor sheet, sandpaper
- A more serious kit: add a 1-inch brush and an angled brush, a mini roller, an extension pole, a fabric drop cloth
- Pro kit: spare roller covers in different nap lengths, a paint grid for the bucket, an aluminium ladder, scrapers in several sizes
- You can skip: one-off texture tools, if you're not yet sure you'll do a textured wall
How to clean paintbrushes and rollers after water-based paint
Water-based acrylic paint washes out with water as long as it hasn't dried. The single most important tip is to wash straight away. Paint left to dry at the base of the bristles is the number one reason a good brush turns stiff by the next job.
If you're stopping for lunch or waiting for a coat to dry, there's no need to wash. Wrap the brush and roller tightly in a plastic bag and the paint won't dry for several hours.
Don't pour large amounts of paint-washing water down the drain or onto the ground. Scrape off as much excess paint as you can first, wash in a bucket, then dispose of the water following your local guidance.
- 1. Scrape the excess paint back into the tin, then wipe the brush out on old newspaper.
- 2. Wash in a bucket of clean water, squeezing the bristles from base to tip with your gloved fingers.
- 3. Wash again in mild soapy water until the water runs clear.
- 4. Rollers: squeeze out the water against the edge of the tray or by hand, then rinse two or three more times.
- 5. Shake out the water and straighten the bristles.
- 6. Leave to dry, hanging the brush bristles down or lying it flat. Never stand a brush on its bristles.
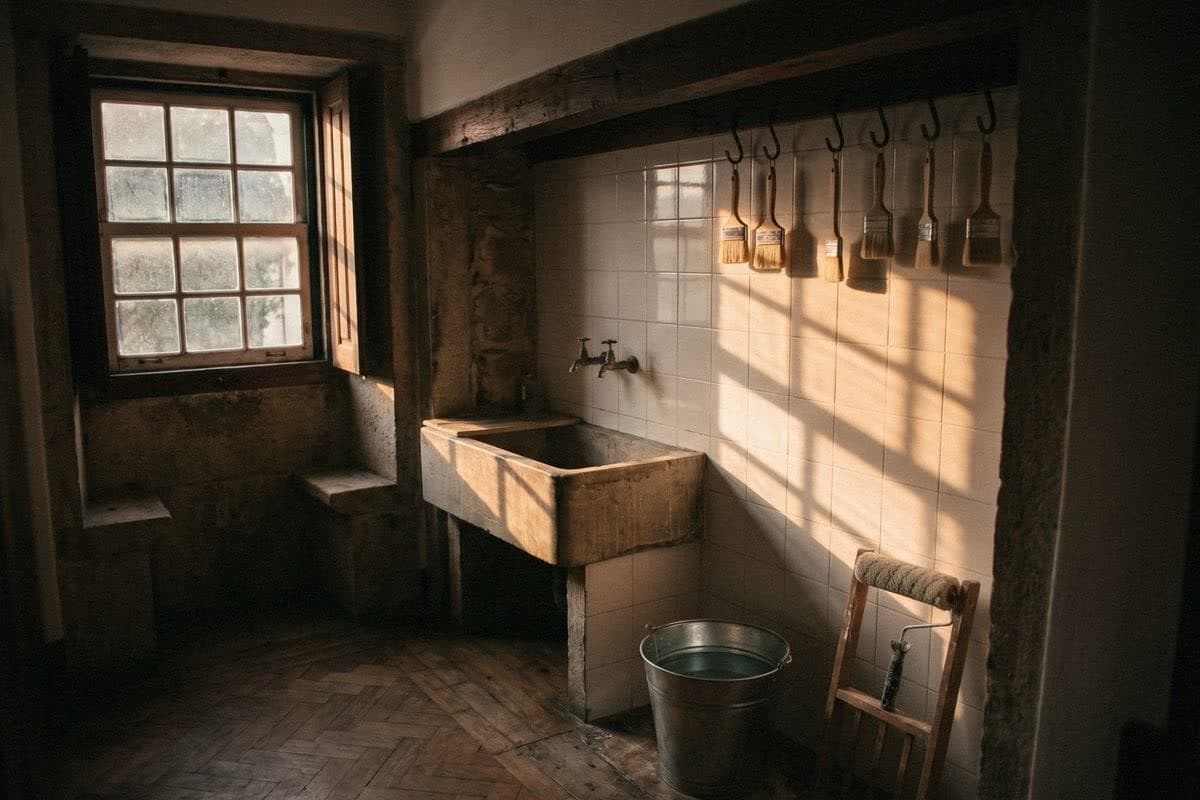
Tools for limewash-style walls and mineral paint
A limewash-style wall needs different tools from a flat wall. Instead of using a roller to get a smooth surface, you use a large brush and apply the paint in layers in crossing directions, so the brush marks overlap and build the depth of an old European plaster wall.
Voqe Mineral Finish can be applied with a large brush, a roller or a sponge, but the soft, deep look people are after usually comes from a large block brush. The wide face of the brush means the pattern isn't made of fine, busy little lines.
- Large block brush: the main tool for the crossing pattern
- 2-inch brush: for corners and edges
- Sponge: softens the pattern in places
- Drop cloth and test boards: practise before you go onto the real wall
- A small bucket or separate tray: keeps the light and shadow tones from mixing
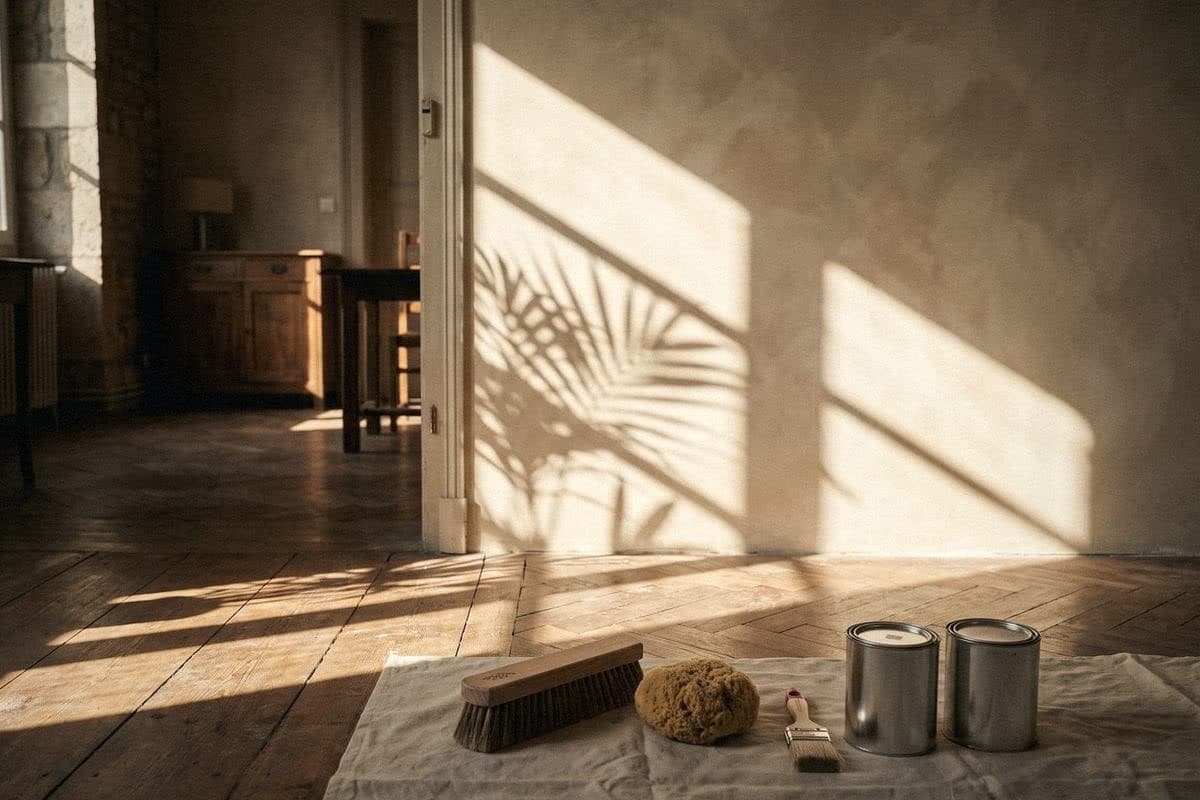
“Good paint needs a good brush, just as hot steamed rice needs a ladle that doesn't stick to the pot.”
Frequently asked questions
What tools do you need to paint a house?
A scraper, sandpaper, filler, masking tape, a cloth or plastic sheet to cover the floor, brushes in several sizes, small and large rollers, a roller tray, an extension pole, a stirring stick, a bucket of water, a ladder, gloves and a mask.
What is a 1-inch paintbrush used for?
Detailed work, such as door and window frames, railings, tight corners, small grooves and spot touch-ups. For water-based paint, choose synthetic bristles.
What is a 2-inch paint roller good for?
A 2–4-inch mini roller suits narrow spaces, such as doors, behind pipes, beside furniture and small walls. For ordinary room walls, a 9-inch roller is faster and gives a more even result.
How do you clean a paintbrush after water-based paint?
Scrape off the excess paint, wash it in a bucket of clean water, squeezing the bristles from base to tip, then wash again in mild soapy water until the water runs clear. Shake out the water, straighten the bristles, and leave it to dry hanging bristles down or lying flat.
What's the difference between a short-nap and a long-nap roller?
A short nap suits smooth walls, ceilings and doors, and gives a smooth finish. A long nap holds more paint and gets into the grooves of rough surfaces, so it suits exterior walls and bare concrete. A medium nap works on ordinary plastered walls in almost any room.

Colour on a screen never matches colour on a wall
Order a sample to paint at home, or come and see the full shade library at Voqe Studio, Bang Phli.
Order sample jars before you startRead next
How to paint your house yourself: finish a room in a day, with a paint calculator
You can paint a room yourself in a day, if you know how much paint you need, which primer to use and how long to wait before the second coat.
Read article
How to create a loft wall with Mineral Finish yourself, step by step
A loft-style concrete wall is a weekend job you can do yourself. All it takes is good preparation, patience and the nerve to let your hand go.
Read article
How many square metres does 1 gallon of paint cover? Work out your house paint in 5 steps, with real examples
Buy too little and you're dashing to the shop with paint on your hands. Buy too much and a tin sits under the stairs for ten years. Do five minutes of maths first, then buy the right amount in one go.
Read article